Video Streaming with RapsberryPI Using gStreamer
Tip
- In this tutorial, you will:
- Learn how to configure your Raspberry Pi for video streaming through the gStreamer Method
- Know the commands needed for simple video streaming through gStreamer
Note
This demonstration uses a Linux based environment (Ubuntu) as the client side, NOT a Windows PC like the other methods.
Tip
- This demonstration was tested on:
- Google Chrome Version 56.0.2924.87 on Ubuntu 14.04 64-bit
- 2017/1/11 Raspbian Jessi on a RBpi 2 Model B V1.1 using Pi Camera rev 1.3
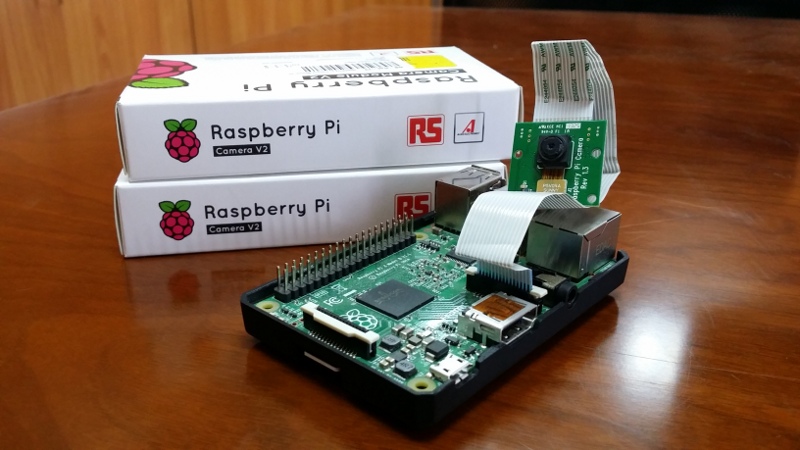
- Note: Pi Camera V2.1 was also tested successfully
This tutorial will introduce to you to your Raspberry Pi Camera Module to view a video stream from your Pi setup, the server using Raspbian, to a different computer, a client using Ubuntu, in your home network
Configuring your RaspberryPi
Firstly, on your Pi’s terminal, Update and Upgrade the environment so it can be up to date. This helps in reducing future problems. Don’t forget to ENABLE your Raspberry Pi Camera using ‘raspi-config’.
$ sudo apt-get update
$ sudo apt-get upgrade
$ sudo raspi-config
A blue BIOS-like screen will appear, go into the Enable Camera Options and enable the camera.

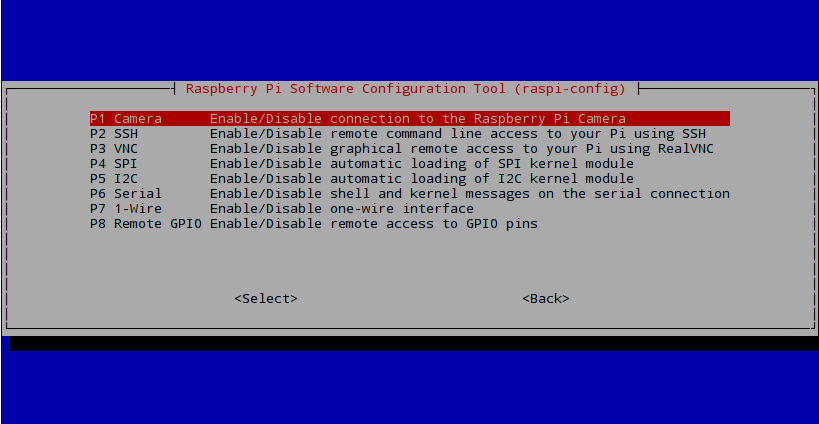
Note
Depending on your version of Raspbian, the Enable setting may not first appear on the main list. You will have to go under the settings in the blue screen to locate the enable option.
It is also advised now to see what is the IP Address of your Pi. Type in the following to locate the IP as you will need it in the Browser for your Windows machine.
$ ifconfig
lo section under inet addr:x.x.x.xeth0 in inet addr:x.x.x.xGetting gStreamer
Now we will get into the main focus of this tutorial, gStreamer. gStreamer is a multimedia tool that connects a sequence of elements through a pipeline.
We will now get gStreamer for both the Pi and your Ubuntu
$ sudo add-apt-repository ppa:gstreamer-developers/ppa
$ sudo apt-get update
$ sudo apt-get install gstreamer1.0*
Initiating the Video Stream
After the installation, to begin the video stream, we can type in the Pi:
$ raspivid -fps 26 -h 450 -w 600 -vf -n -t 0 -b 200000 -o - | gst-launch-1.0 -v fdsrc ! h264parse ! rtph264pay config-interval=1 pt=96! gdppay ! tcpserversink host=x.x.x.x port=5000
- ..NOTE::
- You can remove
-nso you can start a preview on your Pi,-ndisables the preview -bis for the bitrate
- You can remove
Please note that the host here must be changed to YOUR host IP from the ifconfig above.
That will initiate the stream from the Pi side.
On your client with Linux, also install gStreamer, and then type in the terminal
$ gst-launch-0.10 -v tcpclientsrc host=x.x.x.x port=5000 ! gdpdepay ! rtph264depay ! ffdec_h264 ! ffmpegcolorspace ! autovideosink sync=false
Please note that the host here must be changed to YOUR host IP from the ifconfig above.
Now you will see the stream from the Pi server.
Note
As you can see, the quality and latency is ground breaking this time compared to the VLC and mjpgStreamer methods.
Video Demonstration
Note
The Monitor on the left displays real time from the Raspberry directly, whereas the Laptop is displaying the gStreamer stream.
Wirelessly streaming a video from a Raspberry to a remote laptop. This video tutorial shows the overview of this written tutorial.